
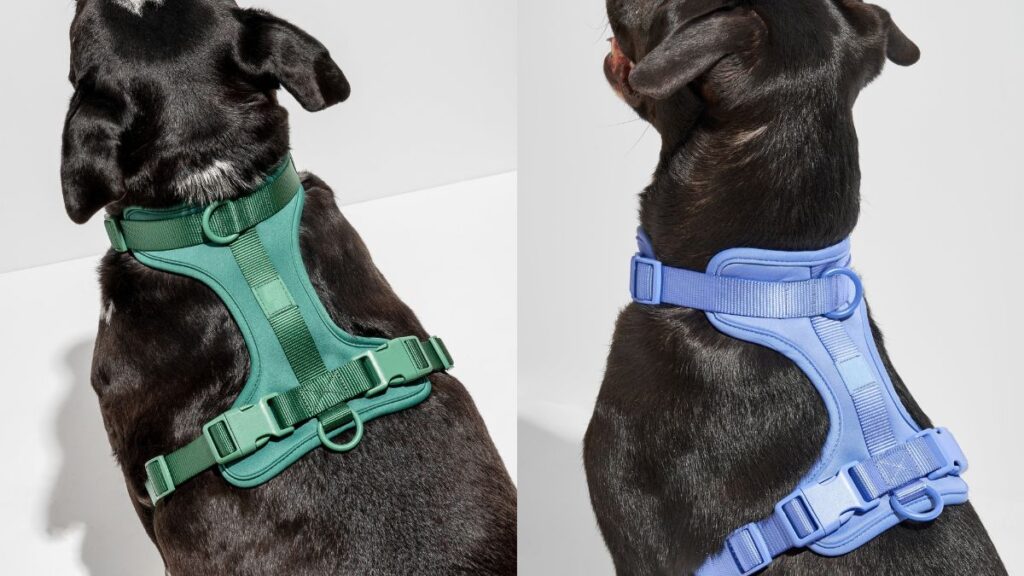
A harness that fits well on the day you buy it does not necessarily fit well three weeks later. Straps stretch, dogs gain and lose weight, coats change with the seasons, and the gradual loosening that happens over weeks of daily use is the single most common reason dogs slip out of harnesses on walks. Knowing how to tighten a dog harness correctly — and when to check — is the difference between a harness that works and one that fails at the worst moment.
The problem is that most harness fitting advice stops at “make sure you can fit two fingers under each strap.” That is a starting point, not a complete check. The two-finger rule tells you the harness is not too tight, but it tells you nothing about whether the harness is too loose, whether the straps are positioned correctly on the body, or whether the fit changes when the dog moves. A harness can pass the two-finger test while still being loose enough for a determined dog to back out of.
This guide covers the full tightness check — the two-finger rule, the three critical contact points, and the walk test that catches fit problems the standing check misses. If you already have a harness and want to know whether it fits, start here. If you are still choosing one, see our dog harness size guide first, then come back to this guide once it arrives.

The Two-Finger Rule: What It Actually Means
The two-finger rule is the baseline tightness test for every harness strap. Place two fingers (index and middle, flat together) between the strap and the dog’s body. You should be able to slide them in with light resistance but not force. If you cannot fit two fingers, the strap is too tight. If two fingers slide in with no resistance and there is visible slack, it is too loose.
What the two fingers simulate
Two flat fingers are roughly the thickness of the tissue compression that occurs when a dog pulls against the leash, breathes heavily, or sits down. If the strap is tighter than two fingers, it will press into the skin under load — causing chafing, restricting breathing, or pressing on the shoulder joint during stride. If it is looser than two fingers, the harness shifts on the body during movement, creating the friction and slack that lead to both chafing and escape.
Where to check — and where not to
Check the two-finger spacing at the neck strap, the chest strap, and the belly strap independently. The most common mistake is checking only the chest strap — the most visible one — while the belly strap, which sits closer to the armpits and does more friction work, goes unchecked. The belly strap is the one most likely to be too tight after the harness settles in, because it sits on the highest-friction area of the body.
Two fingers, not a fist
A widespread misinterpretation of the rule is “if you can fit your whole hand under the strap, it is fine.” It is not. A whole hand means the strap is loose enough for the harness to rotate, shift forward over the shoulders, or pull sideways under pulling force. Two flat fingers — not a fist, not three fingers — is the correct benchmark.
Why a Loose Harness Is More Dangerous Than a Tight One
Most owners worry about a harness being too tight. In practice, a harness that is too loose is the more common and more dangerous problem — and it is the one most people do not recognise until their dog backs out of the harness on a walk.
Dogs back out of loose harnesses — they do not slip out of tight ones
When a dog backs out of a harness, it is almost always because the neck or chest strap is loose enough that the dog can lower its head, pull its shoulders together, and slide backwards through the harness. This happens in seconds. The dog does not need to be small or flexible — any dog with a neck strap loose enough to pass over the base of the skull can back out. Tightening the neck strap so it sits snugly below the throat, above the shoulder joint, is the most effective escape prevention available — more important than any harness design feature.
Loose harnesses cause more chafing than tight ones
A tight strap stays in one place. A loose strap moves — sliding back and forth across the skin with every stride. The friction from that movement causes chafing far faster than a strap that is slightly too tight. If your dog has raw patches under the armpits or on the chest after walks, the first thing to check is whether the straps are too loose rather than too tight. Tighten the belly strap a notch and see if the chafing resolves before loosening anything.
A loose harness rotates under leash pressure
When a dog pulls and the harness is loose, the entire harness rotates — the chest panel pulls sideways, the back D-ring slides off-centre, and the belly strap shifts into the armpit on one side. This rotation is what causes the asymmetrical chafing pattern many owners notice: one armpit raw, the other fine. A properly tightened harness stays centred on the body regardless of pulling direction, distributing pressure evenly across the padded panels rather than concentrating it on one contact point.
Three Critical Check Points for Harness Tightness
A harness has three independent contact points with the body. Each one needs to be checked separately — adjusting one does not adjust the others. Here is what to look for at each point:
1. Neck strap — snug below the throat, above the shoulders
The neck strap should sit just below the base of the neck, above the shoulder joint. It should be tight enough that the dog cannot lower its head and slide the strap over its skull — which means it must sit above the widest point of the head, not below it. Two fingers should fit between the strap and the throat. If the strap slides forward over the shoulders when you pull it, it is too loose. If it presses into the throat when the dog sits, it is too tight. The neck strap is the primary escape-prevention strap — if you only tighten one strap, make it this one.
2. Chest strap — flat across the sternum, not pulling sideways
The chest strap should sit flat across the breastbone, with no visible slack and no pulling to one side. Check it by pressing the strap sideways — if it moves more than a centimetre in either direction, it is too loose. The chest strap is what keeps the harness centred on the body under leash pressure. If it is loose, the harness rotates when the dog pulls, and all the pressure transfers to one armpit. For a harness with a front D-ring, the chest strap tightness also determines whether the front-clip no-pull mechanism works — a loose chest strap makes the front clip ineffective because the harness slides rather than redirecting the dog.
3. Belly strap — just behind the front legs, not touching them
The belly strap sits just behind the front legs. It should be tight enough that two fingers fit between the strap and the belly, but loose enough that it does not press against the back of the front legs at any point in the stride. The belly strap is the one most likely to be too tight because owners tighten it to stop the harness from sliding — but if the neck and chest straps are correct, the belly strap does not need to be tight to keep the harness in place. If the belly strap is the only thing holding the harness in position, the neck and chest straps need tightening, not the belly strap.
Quick Reference: Signs Your Harness Is Too Loose or Too Tight
Use this table alongside the two-finger rule for each strap.
| Check Point | Too Loose | Too Tight |
|---|---|---|
| Neck strap | Slides over the skull when dog lowers head | Presses into throat when dog sits or pulls |
| Chest strap | Moves sideways more than 1cm when pressed | Cannot fit two fingers under the strap |
| Belly strap | Harness slides forward over shoulders when pulled | Presses against back of front legs during stride |
How to Tighten Each Strap Step by Step
Tightening a harness is not a single adjustment — it is a sequence. Adjusting the straps in the right order prevents the common problem of one strap fighting against another.
Step 1: Tighten the neck strap first
Start with the neck strap. Position it so it sits above the shoulder joint and below the throat, then tighten the tri-glide buckle until two fingers fit snugly between the strap and the throat. The neck strap sets the vertical position of the entire harness — if it is too loose, the harness sits too low on the chest and no amount of chest-strap tightening will fix the fit. Once the neck strap is correctly positioned and tightened, the harness should not slide forward over the shoulders when you pull it.
Step 2: Tighten the chest strap second
With the neck strap holding the harness in vertical position, tighten the chest strap until it sits flat across the sternum with no slack. Press it sideways — it should not move more than a centimetre. The chest strap keeps the harness centred on the body under pulling force. If you tighten the belly strap before the chest strap, the harness will twist rather than sit flat, and you will end up loosening the belly strap to compensate for a problem the chest strap should have solved.
Step 3: Tighten the belly strap last
The belly strap is the final adjustment. Position it just behind the front legs — not touching them — and tighten until two fingers fit between the strap and the belly. If the harness stays in position with the neck and chest straps correctly tightened, the belly strap does not need to be tight. Its job is to hold the bottom of the harness closed, not to hold the harness on the dog. If you find yourself needing to tighten the belly strap hard to stop the harness sliding, go back and tighten the neck strap instead. For a full walkthrough of putting the harness on before tightening, see our no-pull harness fitting guide.
The Walk Test: Checking Fit in Motion
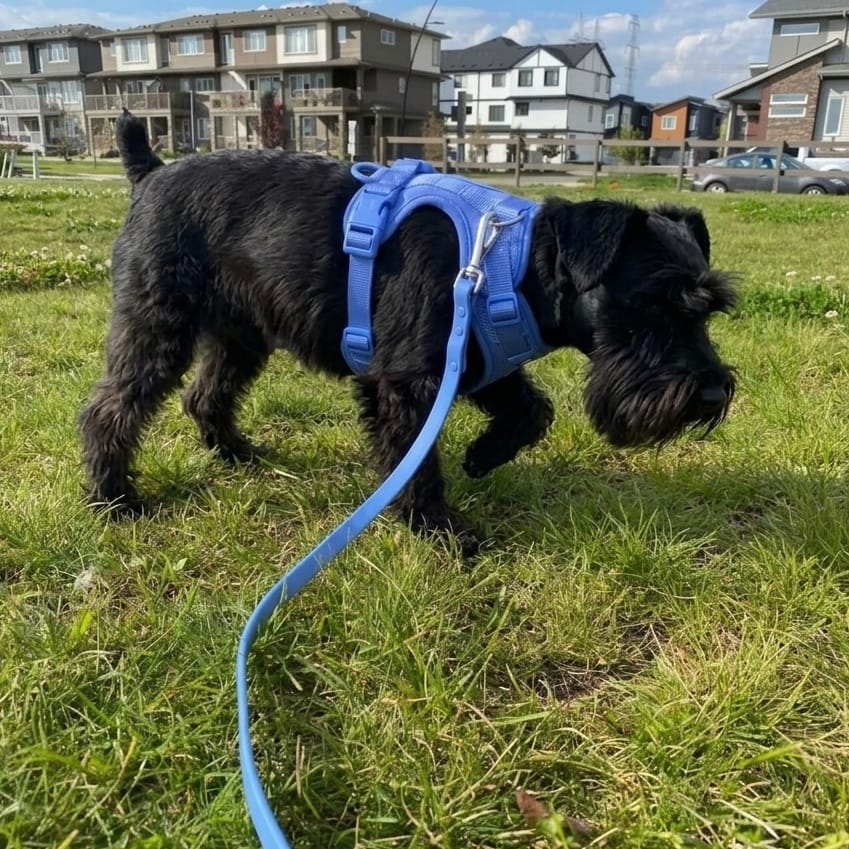
A harness that passes the two-finger test while the dog is standing can still be incorrectly fitted. The real test happens when the dog moves. Walk your dog for two minutes at a normal pace, then stop and check these three things:
Has the harness rotated?
Check whether the back D-ring is still centred between the shoulder blades. If it has shifted to one side, the chest strap is too loose — the harness is rotating under the normal side-to-side movement of walking. Tighten the chest strap half a notch and walk again. If the rotation continues, the neck strap may also be loose, allowing the entire harness to shift rather than just the lower section.
Has the belly strap moved forward against the legs?
After two minutes of walking, check whether the belly strap has shifted forward and is now touching the back of the front legs. Some forward movement is normal — but if the strap is in contact with the legs, either the belly strap is too loose (allowing forward drift) or the neck strap is too loose (allowing the entire harness to slide forward). Slide a finger between the strap and the back of each front leg — there should be clear space.
Are the underarm contact points red?
After two minutes, there should be no redness at the underarm contact points. If there is, the harness is moving during the stride — which means a strap is too loose, not too tight. Redness from a strap that is too tight takes longer to develop (usually 10–15 minutes of continuous pressure); redness that appears within two minutes is friction from a loose strap sliding. Tighten the relevant strap and repeat the walk test.
When to Recheck Tightness
A harness that fitted perfectly when you bought it will not stay that way indefinitely. These are the moments when you should recheck all three straps:
After the first two weeks of daily use
New harnesses settle in. The padding compresses to the shape of the dog’s body, the webbing softens, and the overall fit loosens by half a notch to a full notch. This is the most common point at which a previously escape-proof harness becomes escapable. Check all three straps after two weeks of daily wear, even if nothing seems wrong — the change is gradual enough that you will not notice it without measuring.
When the coat changes — spring and autumn
Double-coated breeds (Huskies, German Shepherds, Golden Retrievers, Corgis) lose significant undercoat volume in spring and gain it back in autumn. A harness that fits perfectly over a winter coat will be too loose after the spring shed, and one that fits in summer will be too tight when the winter coat grows in. Recheck the fit at each coat change — this is also the time most dogs escape from harnesses that have been fine for months.
After weight changes — gain or loss
A 1kg weight change is enough to alter harness fit, particularly on small and medium dogs where the chest circumference changes proportionally more than on large dogs. If your dog has been unwell, changed diet, had reduced exercise, or grown (in the case of puppies and adolescents), recheck the fit. For puppies, check weekly — they grow faster than owners expect, and a harness that fitted last month may be pressing into the chest this month. For the full sizing reference, see our dog harness size guide.
A Harness That Stays Put Means a Safer Dog
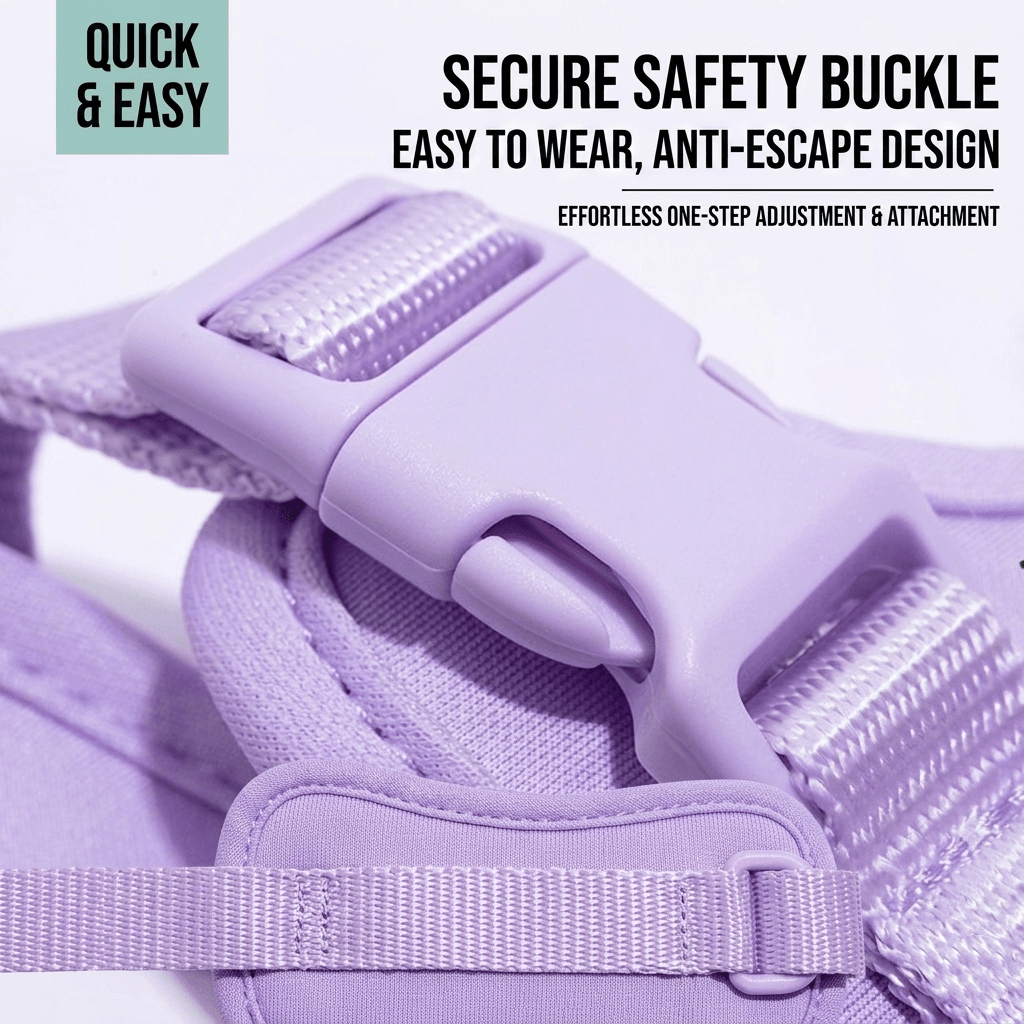
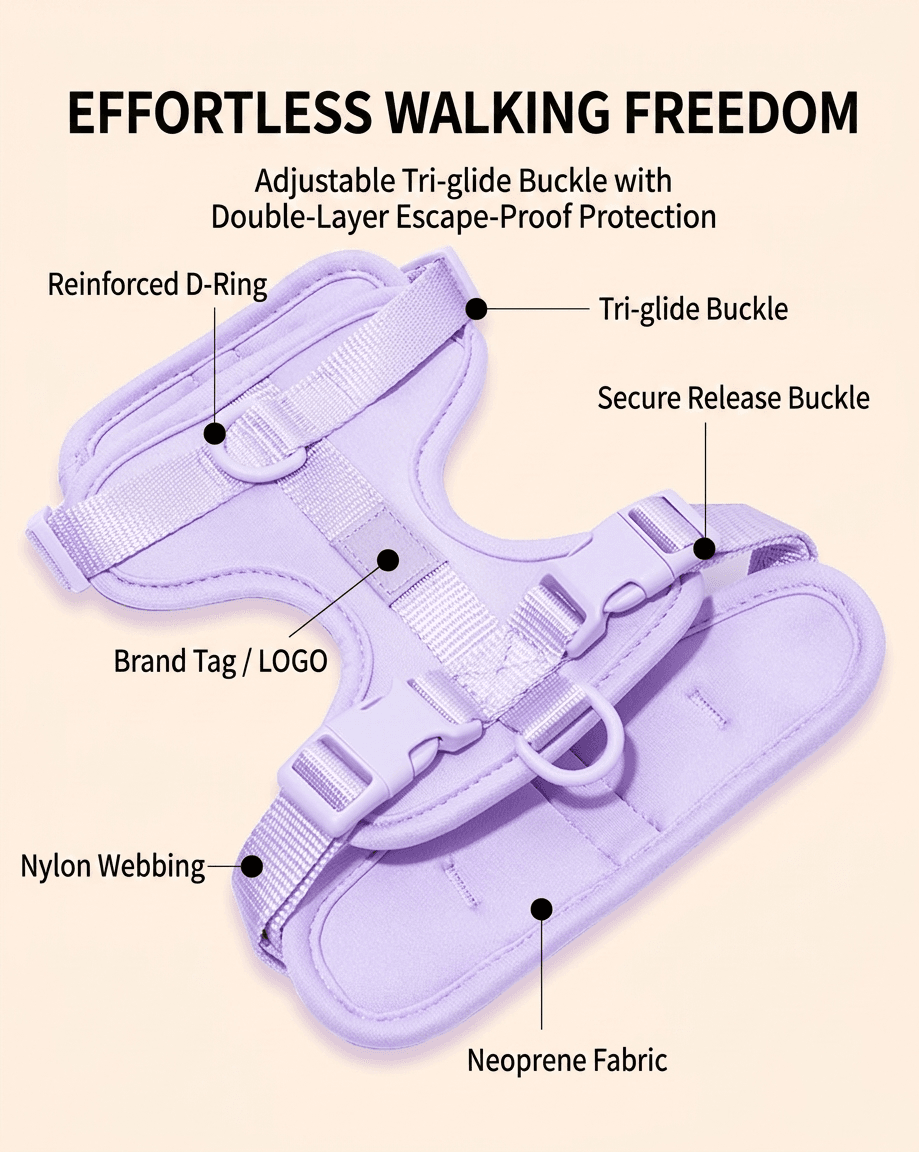
The MoonianPet No-Pull Dog Harness has three-point independent adjustment at the neck, chest, and belly — which means each strap can be tightened to the correct tension without affecting the others. The neoprene padding at the chest panel and underarm contact points maintains its cushioning over time, so the fit you set on day one holds through weeks of daily use rather than compressing into a flat strap that needs constant retightening. The secure safety buckle sits over the back rather than under the belly, so it does not loosen under belly pressure during sitting or lying.
For a harness that needs to work in every condition — from muddy trails to car rides to daily walks — the Harness & Leash Set pairs the no-pull harness with a waterproof PVC-coated leash in a matching colour. The leash’s metal hook attaches to either the front or back D-ring depending on the walk, and the waterproof leash material means the whole setup wipes clean after a muddy walk without absorbing odour. For more on why a harness is the safer leash attachment point than a collar, see our collar vs harness guide.
From my own experience running MoonianPet, the most common email I receive from customers is some version of “my dog escaped the harness for the first time.” Almost every time, the harness is fine — the straps have simply loosened over weeks of use and the owner did not realise how much give had developed. A thirty-second check of the three straps, once every two weeks, prevents the problem entirely. The harness is only as escape-resistant as its tightest strap allows it to be.
Frequently Asked Questions
How tight should a dog harness be?
You should be able to fit two flat fingers between each strap and the dog’s body with light resistance — no more, no less. The straps should not move more than a centimetre when pressed sideways, and the harness should not rotate when the dog pulls. If you can fit your whole hand under a strap, it is too loose even if it feels snug. Check the neck, chest, and belly straps independently, because adjusting one does not adjust the others.
Can a dog escape from a properly fitted harness?
Very rarely. Dogs back out of harnesses when the neck strap is loose enough to pass over the skull. If the neck strap sits above the shoulder joint and is tightened to the two-finger standard, the dog cannot lower its head far enough to slide the strap over its skull. The escape attempts you see in dogs — lowering the head, pulling the shoulders together, backing up — only work when the neck strap has enough slack to clear the widest point of the head.
How often should I check harness tightness?
Check all three straps every two weeks during normal use, and immediately after any coat change (spring shedding, winter coat growth), weight change, or period of reduced exercise. New harnesses should be checked after the first two weeks of daily wear, because the padding compresses and the webbing softens during this period — the harness will loosen by half a notch to a full notch without you noticing.
What if my dog’s harness leaves red marks on the skin?
Red marks that appear within minutes of putting the harness on are usually caused by a strap that is too loose — the loose strap slides during movement and the friction causes irritation. Tighten the strap at the affected area, do not loosen it. Red marks that develop after 15+ minutes of wear may indicate a strap that is too tight, but this is less common. Check the two-finger rule at each strap and adjust accordingly. If the marks persist with correct tightness, the padding may be insufficient — neoprene padding resolves this better than mesh or thin foam.
Which strap should I tighten first on a dog harness?
Tighten the neck strap first, then the chest strap, then the belly strap. The neck strap sets the vertical position of the harness — if it is loose, the harness sits too low and no amount of tightening the lower straps will fix the fit. The chest strap keeps the harness centred under pulling force. The belly strap simply closes the bottom of the harness and should be the loosest of the three. For the full fitting walkthrough, see our no-pull harness fitting guide.
Why does my dog’s harness loosen over time?
Three things cause gradual loosening: the padding compresses to the shape of the dog’s body (most noticeable in the first two weeks), the webbing softens with repeated tension and release, and the dog’s body changes size subtly with weight and coat fluctuations. This is normal and happens with every harness — the solution is a thirty-second recheck of all three straps every two weeks, not a new harness.
Looking for more harness fitting advice? Our no-pull harness fitting guide covers the full step-by-step process of putting the harness on before tightening. Or if you are still deciding on a size, start with our dog harness size guide for the full XS–XL chart.
Wenyue
Wenyue is the founder of MoonianPet and writes about dog collars, harnesses, waterproof pet gear, and everyday dog care. Growing up with dogs inspired her lifelong interest in pet care and practical dog gear. Through MoonianPet, she researches dog collars, harnesses, waterproof materials, and everyday solutions that help active dogs stay comfortable during daily adventures.